Category: Life (Page 2 of 6)

MAKEUP TIPS How to choose the right foundation

Drugstore Makeup Basics~ How To Choose The Perfect Foundation

I’m presuming that if you have landed on this post then you are among the many women that walk into drug stores across the land looking for the perfect foundation. And feel overwhelmed by the vast selection of cosmetics on offer!

It is overwhelming! The cosmetics industry is massive and growing all the time! Sometimes it would be nice, like most things in this day and age (oooooh how old does that make me sound?? eek!) if things would pause, let us take a breather and catch up with it all.

That’s not going to happen though, so I’ll talk more generally about foundation, a tricky one to get right at the best of times.

Throw in different finishes, formula’s and a bunch of letters and numbers, it can be enough to make your head explode.

Too dramatic??


Things to bear in mind when shopping for foundation.

These 4 things will work as your basic guide to picking an everyday foundation.

If you wanted a foundation for a specific occasion or one that will give you a specific quality to your skin then you would look at different factors. This is just the basic knowledge you need to be equipt with to begin.


1.Your skin tone~ fair, medium, dark.

MAKE UP TIPS CHOOSING THE RIGHT FOUNDATION 

So that you know which section of the colour spectrum you should be looking at, to begin with. Of course, there are many variations of each tone…


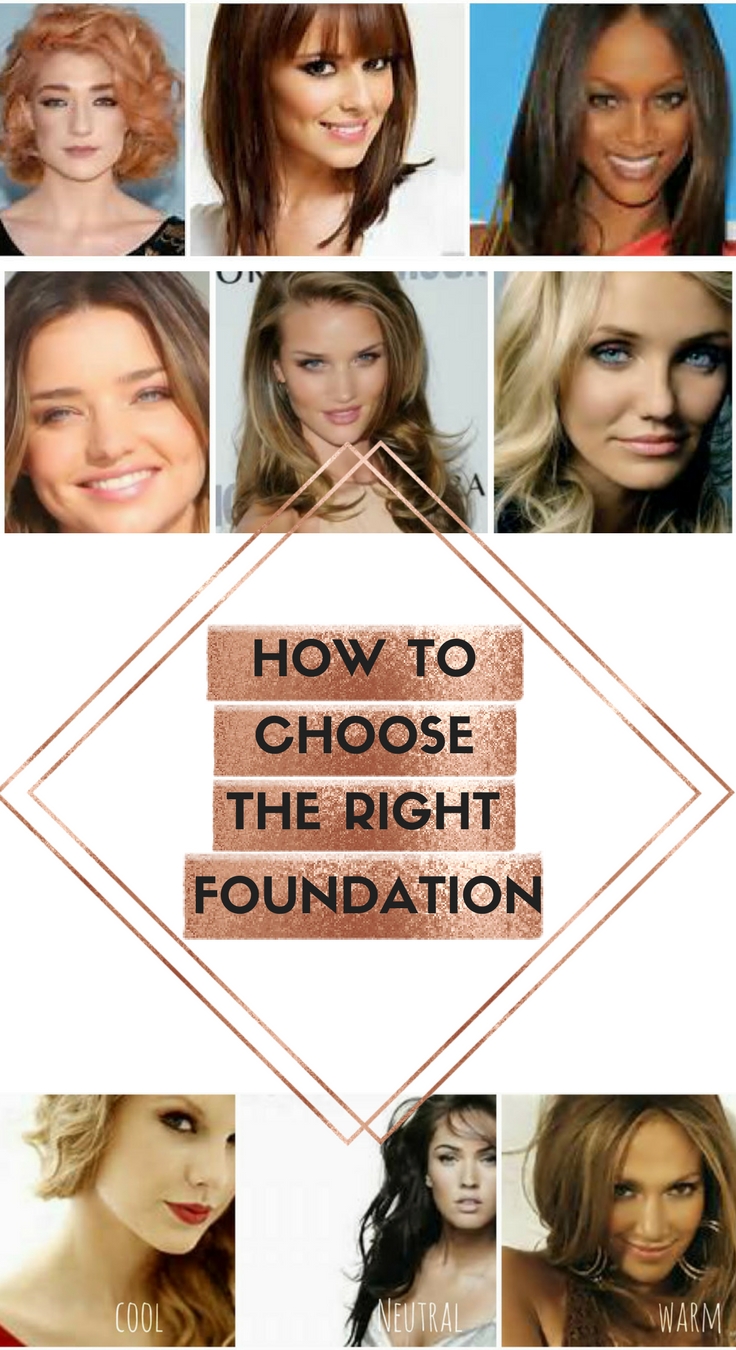
2.Your undertone~ cool, warm, or neutral

MAKE UP TIPS CHOOSING THE RIGHT FOUNDATION 

  So that you pick a foundation with the correct base colour for your undertone

(The quickest way to check this is to look at the veins on your wrist if they are blue then you have a cool undertone, you have a warm undertone if they are more green, and if there is neither more green or blue then you have a neutral undertone.)
For example, you could have fair skin but a warm undertone, so you would want a pale colour foundation that is yellow based rather than pink.Those of us with neutral undertones should pick colours that have a balance of the two.

Just as a side note, even if you have a cool undertone do steer clear of foundations that are overly pink based (fortunately there aren’t too many nowadays!) as they never blend into the skin enough to leave a natural finish.

Test shades on your jawline in as natural a light as you can you will want to pick out the shade that best blends with your chest/shoulder colour.If you are stuck deciding between 2 shades pick out the lighter shade as you can always darken it with bronzer.


3.Your skin type~ normal, dry, oily or combination.

 MAKE UP TIPS CHOOSING THE RIGHT FOUNDATION

So that you pick a foundation with the formula and finish that is most beneficial to you regarding the application, longevity and overall look of the foundation you choose.

Generally, foundations aren’t labelled up to specify which skin types they are most suitable for. Revlon colour stay shades do come in normal/dry and combination/oily, however, I can’t think of another drugstore brand that specifically states skin type suitability on their foundation bottles.

4.Coverage

MAKE UP TIPS CHOOSING THE RIGHT FOUNDATION

This is personal preference all the way!


Drugstore basics~ How to choose the right foundation 5

Normal-dry skin types

Oily/combination  

Loreal True match (great shade range) £9.99

Revlon colourstay £12.49

Rimmel match perfection £6.99

Garnier nutritionist BB oil free miracle skin perfector £6.66

Bourjois 1,2,3 perfect £10.99

I really hope I explained this clearly and this was helpful to some of you!

Do tell me your drugstore faves!!

XOX


How To Build A Pro Makeup Kit On A Budget. 2

How To Build A Pro Makeup Kit On A Budget.

One of the more challenging things about starting out as a makeup artist is building up a pro makeup kit. It can feel very overwhelming to decide where to begin. Not only that but there is the issue of cost. Of course, you want to use only the very best for your clients! But when you are starting from scratch and trying to cater for a whole host of clients and their specific needs it’s difficult to know where to begin never mind affording everything.  I remember this feeling vividly! And so I have compiled a list of tips that will help to build a pro makeup kit without breaking the bank.


1. Apply For Pro Discount

So many great brands offer a generous discount to makeup artists whether you are fully qualified or a student.

Most are free and straightforward to apply to. My personal favourites for being hassle and cost free are NARS, Illamasqua, and Charlotte Tilbury (CT have the loveliest pro team!)

How To Build A Pro Makeup Kit On A Budget. 3


NARS ~25%-40% (tier system) Free to apply

MAC ~Up to 35% They do charge £25 for a 1-year membership or £40 for 2 years

Charlotte Tilbury ~30% Free to join

Illamasqua ~20%-40% Free to join

Love Make-up ~10% student and 20% working makeup artist. Discount only on selected brands (Full list here)

Guru Makeup Emporium ~up to 35% on selected brands

PAM ~ Up to 35% based on your credentials

Urban Decay ~ 40% Free to join (US only)

Bobbi Brown ~ Up to 35% they charge £15-£25 per year based on which level discount you qualify for.


2. Use Your Connections

 Have a get together with makeup artists that you know and split up products between your kits. You can either swap items or split up and share products like lipsticks (DIY lip palette tutorial here),  eyeshadow pigments, foundations etc. This is a fabulous way to increase your kit size with zero outlay.

If you don’t know any other makeup artists check out forums, Facebook groups, even Google local artists and get in contact.

As well as potentially building your pro kit this is a great way to make like-minded new friends and business contacts.

3. Go “Back To School”

A similar tip to the above but I thought I would add it in. Some Makeup schools kindly allow ex-students the use of their supplies. So do check with your college or school to see if that is something that they offer.


 How To Build A Pro Makeup Kit On A Budget. How To Build A Pro Makeup Kit On A Budget. 1


4. Check Out Facebook For Sale Groups.


Makeup-artist-kit-Bobbi-brown-bbu-palette-nars-sheer-glow-foundation


Either locally or beauty specific groups like this one. There are often some great, barely used kit items for sale at good prices. Also arranging a local collection means more money saved to spend on your kit.

(Please be aware of fakes! Fee has a great post on how to tell fake products here)


5. Head To The Highstreet


makeup-artist-drugstore-makeup-nyx-collection-lasting-perfection-concealer


The saying “Buy cheap buy twice” hasn’t really applied to high street makeup for a good few years now.

Of course, it would be a dream, to have a makeup kit full of Tom Ford!

High street/Budget brands have upped their game since the late Noughties and continue to do so.

Some of the best purse friendly places to check out~

Makeup Geek,

Revolution,

Sleek makeup (Great NARS blush dupes).

e.l.f

KIKO.

ASOS Beauty Sale

*Amazon (For lashes)


6. Subscribe to the mailing lists of the brand’s you love for offers straight to your email.

No explanation needed. 🙂


7. Competitions and Contests.

I’m guessing that you follow a lot of makeup artists and brands across various social media platforms.

If so, you will have no doubt come across a contest or Two from them. There is usually a makeup related prize for the winner. Obviously, this isn’t a foolproof way to increase the size of your makeup kit but it doesn’t hurt to try! 😉 I recently entered the following Insta comps which are both still active… here and here 🙂


8. Most importantly prioritise what you (actually) need.


makeup-artist-kit-essentials

 You can save yourself money simply by doing this step. Always keep in mind that having the basics covered will take you further than having 20 of the latest eyeshadow palettes gathering dust in your kit.


I hope these tips will be helpful if you are in the process of building up your makeup kit!

If you have any more tips, please leave them, in comments to help each other out.

XOX

*Affiliate link


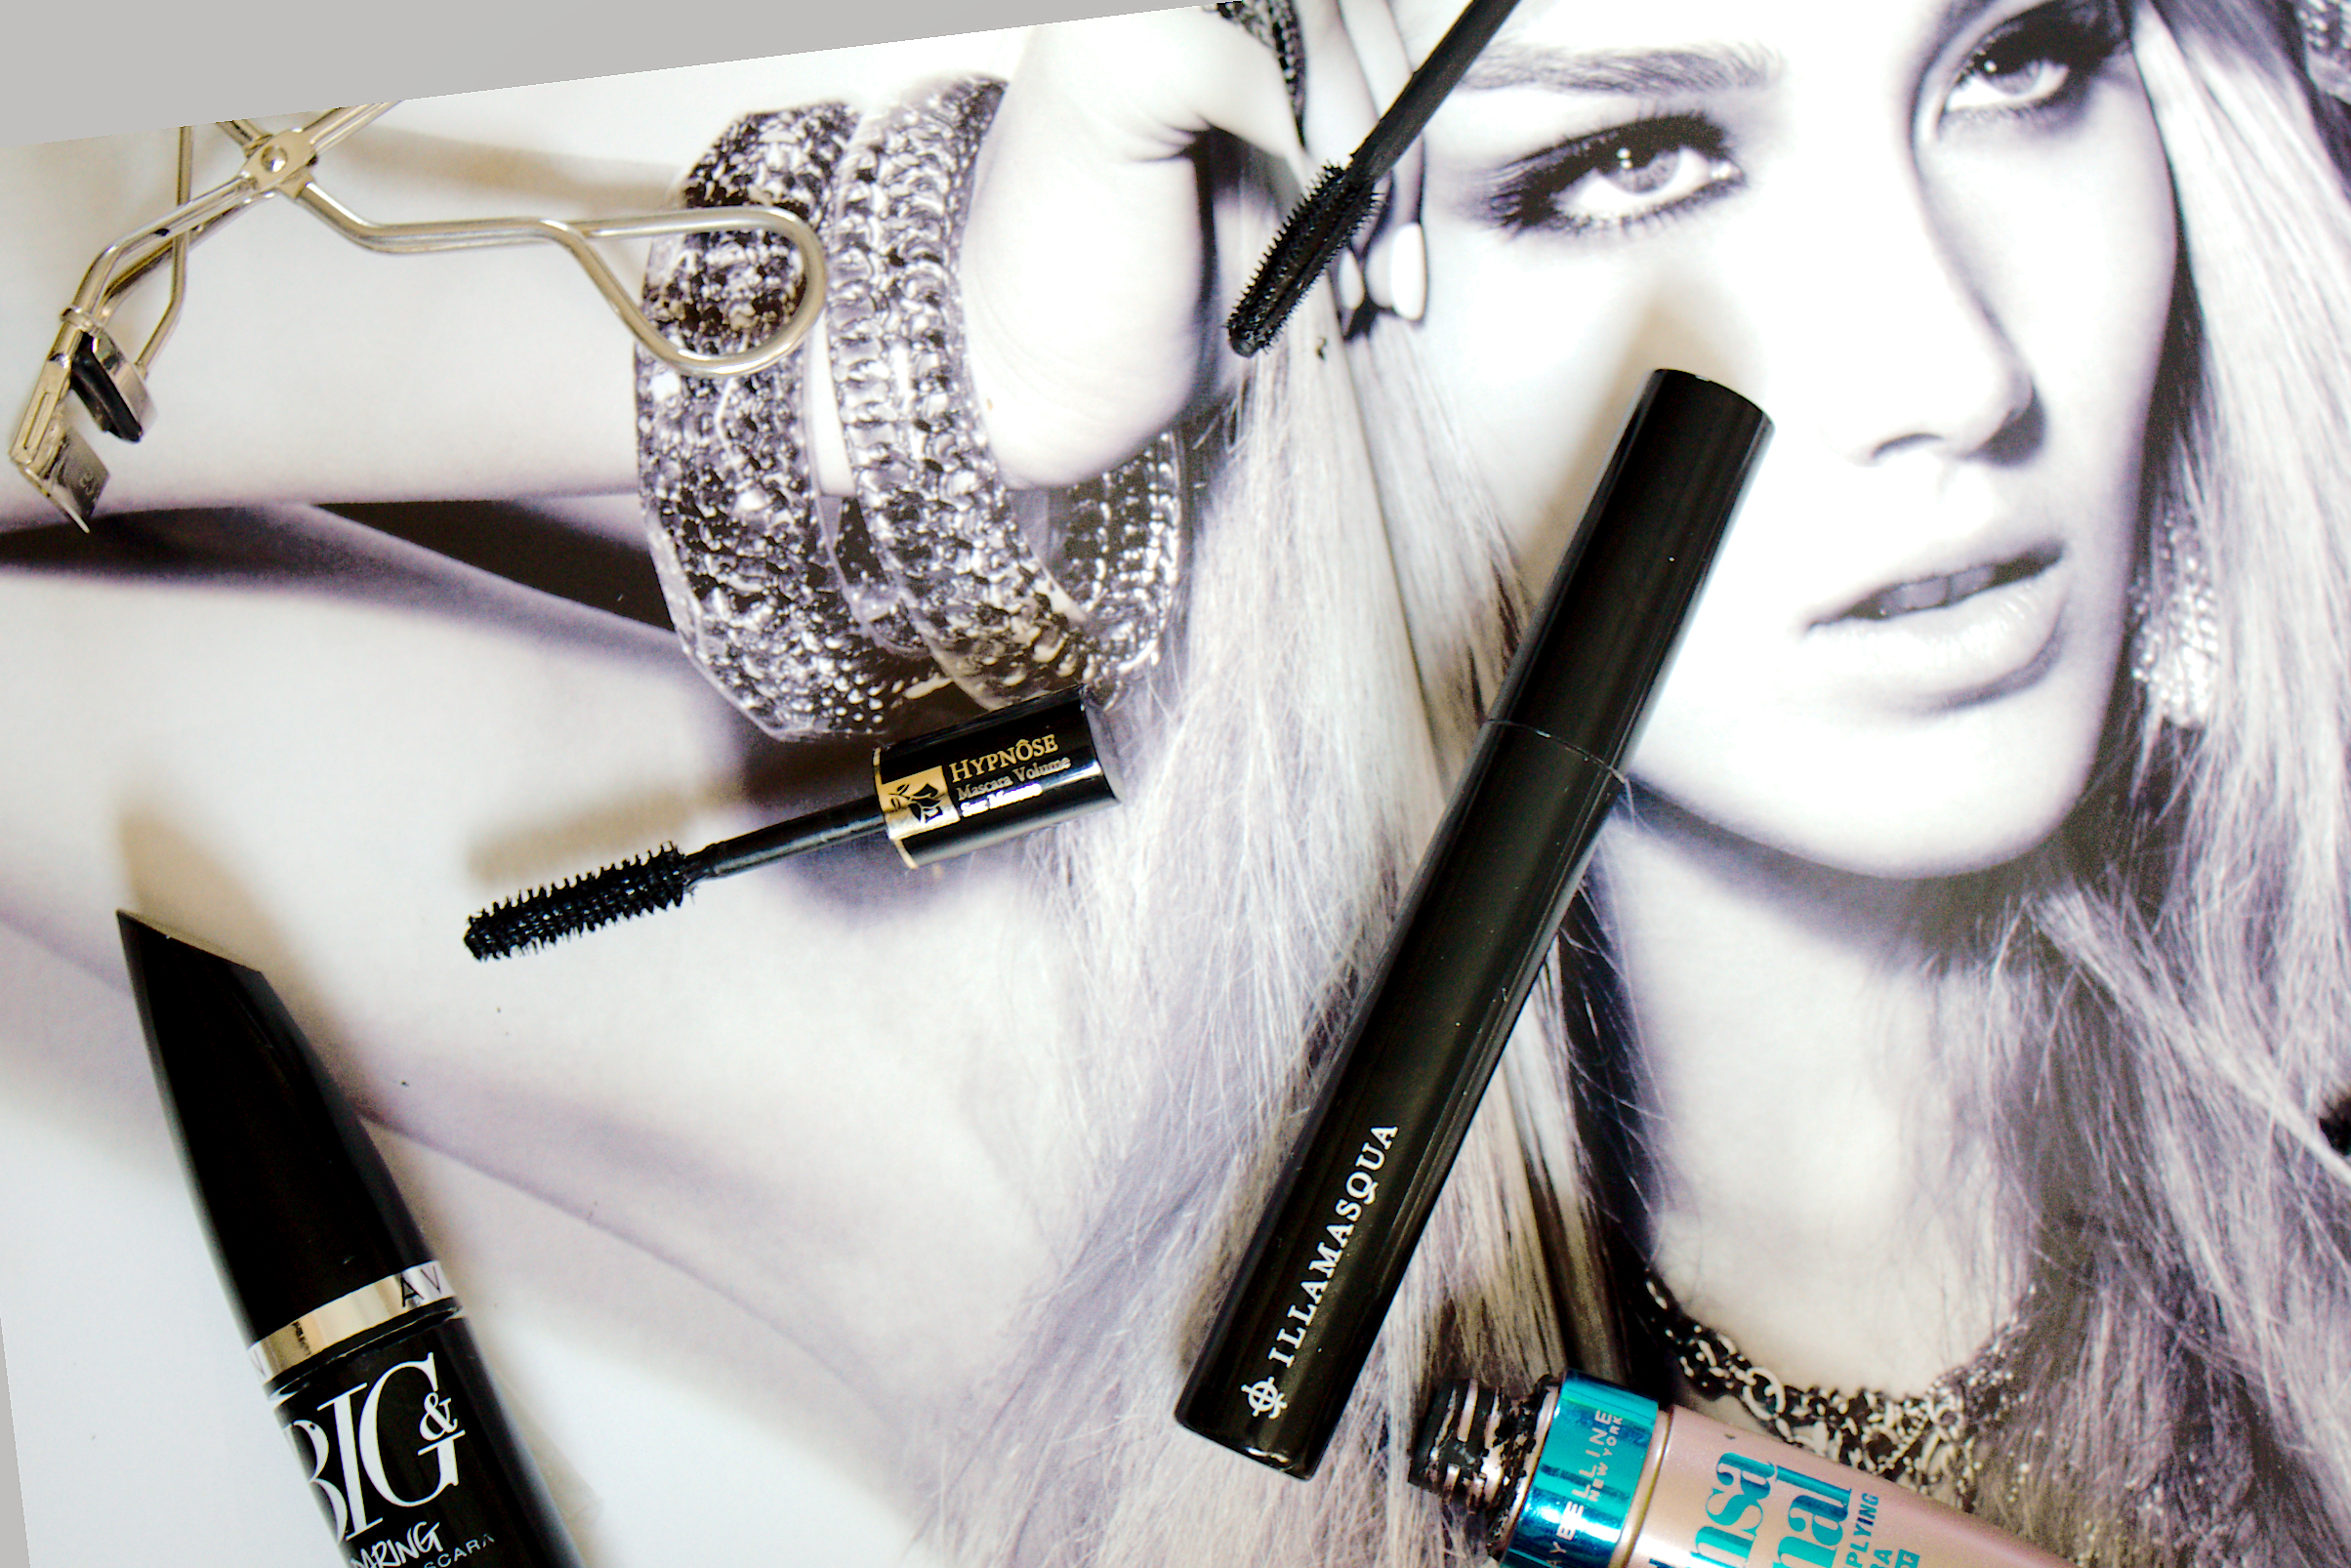
How To Apply Lower Lash Mascara With Any Wand

Why You Have Probably Been Applying Mascara Wrong!

I’m talking lower lash mascara here.

Personally, I don’t think that a perfect application exists when it comes to top lashes.

However, when it comes to lower lashes I feel the majority of people have the same mascara application method. I always see friends, family, and clients do it. (I never apply my client’s mascara unless they insist)

Of course each to their own but it just makes no sense to me.

And it looks like hard work.

What am I talking about?

Makeup-looks-mascara-hack

Holding the wand at a horizontal angle cutting across the eye. Hand flying about in mid-air = no control and more room for smudgy mistakes. Who’s got the time for those?

Take back control!

Makeup-looks-mascara-hack

Instead of that, try holding the wand vertically and resting your little finger on your cheek. This allows you to move the wand more easily back and forth across the lower lashes. With your little finger as the *pivotal point, you remain in total control of the wand.

The great thing is that you can use any size mascara wand with this method and always have full control. And unless you overload your wand with product, it’s very difficult to make a mistake or create clumpy lashes. It’s also difficult to poke the wand into your eye!

Perfect lower lashes every time…I promise!

*Can anyone else say pivot and not think of Ross Geller??


Page 2 of 6

Website supported by - RDMdesign.co.uk